dedication

THIS BLOG IS DEDICATED TO THE PREVSERVATION AND RESTORATION OF BRITISH AUTOMOBILES

Monday, October 31, 2016

FITTING THE DASHBOARD AND INSTRUMENTS

With the dashboard in place, the next step is to connect the gauges and switches.  
The connection of the wiring harnesses for the overdrive gearbox will be done next.


The speedometer and tachometer are pictured in place but the cables have not yet been connected.  It may be necessary to remove the gauges in order to complete the instrument panel wiring.


We have also left the glove compartment disassembled for the same reason.
When the instrument wiring is complete, we will connect the battery and troubleshoot all the systems.
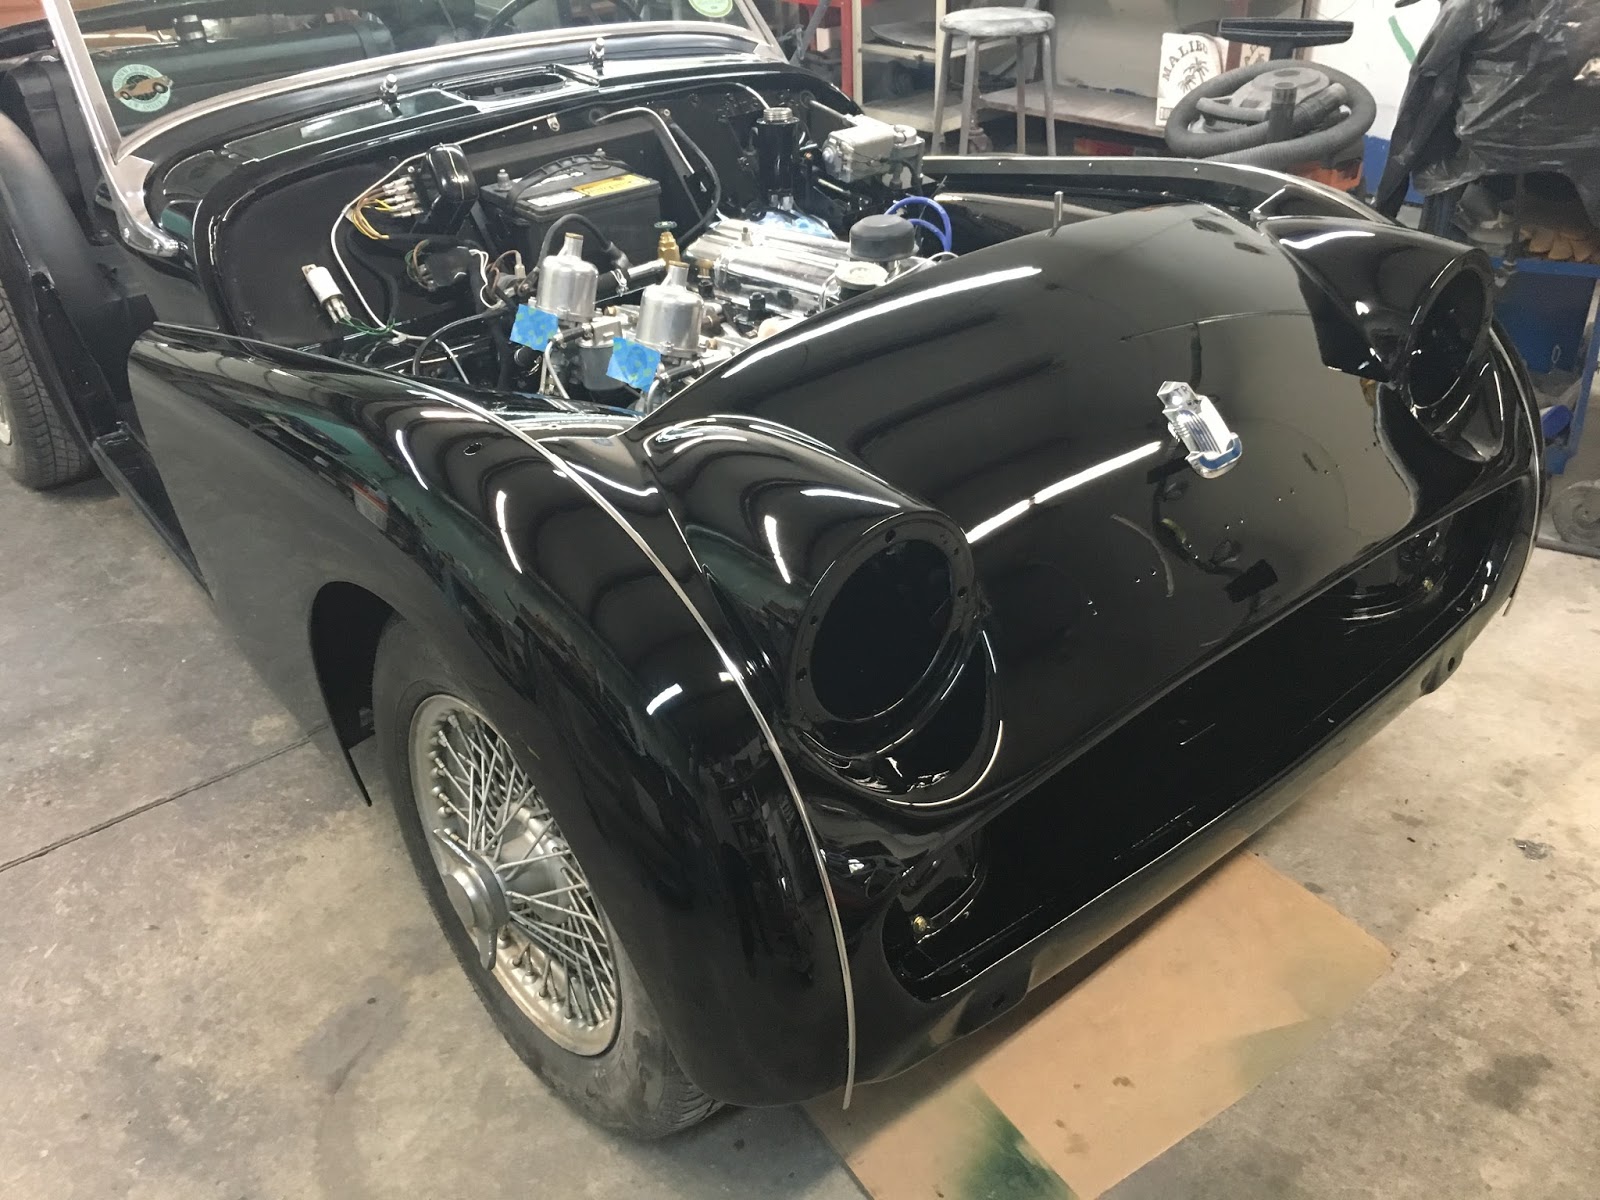


Exciting...
Tom McCurry
Tommy's Topless Cars
843-338-2253


Sunday, October 30, 2016

SECURING THE SPARE WHEEL AND COMPARTMENT DOOR

We spent a few hours restoring the spare wheel and cleaning the tire.  Next, the wheel, jack, and knock-off hammer were strapped in place with the original leather belts.


After the spare and tools are secured, we attached the spare wheel compartment door.  


Stay tuned...
Tom McCurry
Tommy's Topless Cars
843-338-2253

Saturday, October 29, 2016

MOUNTING THE REAR FENDERS...CONTINUED

With the left rear fender held in place against the body with only a few fasteners and the masking tape applied to the mating edges, the alignment process begins.  Again, we begin at the taillight and work our way forward.  


Notice that we removed the wheel for easier access to the fasteners.


The most difficult part of this assembly process is the alignment of the stone guards.  We purchased new ones from Moss Motors.  The old guards were a poor fit.  Although the new ones fit better, two hours was required to improve the fit.


With the taillight mounted and the stainless steel bead secured, the task is complete.


I remain...
Tom McCurry
Tommy's Topless Cars
843-338-2253


Friday, October 28, 2016

MOUNTING THE REAR FENDERS

After undercoating the backside of the rear fenders, we applied two strips of low-tack masking tape on the mating edges of the fender and body.  This will help prevent scratches when fitting the stainless steel bead.


We began the installation of the fender at the taillight, making sure that the light bezel will lay flat.  
In the photo to the right you will notice the new stone guards.  These pieces required several hours of prep work to achieve a proper fit.


Finally, the taillight bezel and lens  were fitted to the body.  
Tomorrow the left rear fender and spare wheel cover will be installed.


Beautiful...
Tom McCurry
Tommy's Topless Cars
843-338-2253

Wednesday, October 26, 2016

BODYWORK CONTINUES...REAR FENDERS IN FINAL PAINT

The restoration of the rear fenders was challenging.  A great deal of welding and bodywork was required, especially on the right fender.  The resulting black finish is absolutely stunning.
Tomorrow the undercoating will be applied and the fenders installed.


Taking shape...
Tom McCurry
Tommy's Topless Cars
843-338-2253 


Tuesday, October 25, 2016

INTERIOR WORK BEGINS

Although the paint and bodywork is still in progress, we have begun to assemble the interior.  
Today we covered the dash with vinyl that matches the seats and interior panels.  The instrument panel, located in the center of the dashboard,  has been painted the same color as the body.  
The dashboard assembly was fitted to the body and all the braces were attached.  Tomorrow we will begin installing the gauges, switches and lights.
This color combination is stunning!


Stay tuned...
Tom McCurry
Tommy's Topless Cars
843-338-2253

Thursday, October 20, 2016

TRIMMING THE REAR VALENCE


We spent the day installing the signal lights, license plate light, badge and overriders.  The bulb holders were in fairly good condition and required only minor repairs to the wiring connectors.


The lenses and trim rings were cleaned and polished and fitted to the rubber housing.


The original Triumph badge was polished and attached with new push nuts.  The license plate lamp had been replaced by the previous owner and was reused.  However, we did rewire it.


We chose to mount the overriders prior to fitting the rear fenders because the brackets are more easily accessible.


Gloss black finishes are challenging to say the very least, but nothing looks better than black and chrome.


Nearing completion...
Tom McCurry
Tommy's Topless Cars
tdmccurry@yahoo.com
843-338-2253

Friday, October 14, 2016

MOUNTING EMBLEMS ON THE FRONT APRON

Now that the front fenders and apron have been fitted, we will be mounting the emblems, lights, grille and bumper.
The original Triumph badge was damaged so we purchased a new one from Moss Motors. 


Mounting the lettering was a bit challenging.  Although the mounting pins aligned with the pre-drilled holes in the apron, the letters, when trial mounted, were not exactly straight.  Therefore, it was necessary to elongate some of the holes.  We used double faced mounting tape by 3M to hold the lettering in place and push nuts to secure them to the apron permanently.  The result is pictured to the right; equally spaced and properly aligned.  


Stay tuned...
Tom McCurry
Tommy's Topless Cars
843-338-2253

Friday, October 7, 2016

FITTING THE FRONT FENDERS AND FRONT APRON

Before the final paint was applied, we installed the front fenders and front apron just to make sure there were no surprises.
Notice the masking tape that was applied to the edge of the fender where the stainless fender bead will rest.  This may prevent the fender from being scratched during the assembly process.  The fender beads seem to have a mind of their own.


The right front fender is now fastened at the rear and the fender bead is in place.


The same procedure is followed with the left front fender.  Note that ample space must be left between the front fenders so that the front apron can be fitted more easily.  You should have at least three men to complete this task.


This procedure took most of the day but the finished product looks great. Next we will be fitting the headlights, grille, signal lights, lettering and bumper.


Stay tuned...
Tom McCurry
Tommy's Topless Cars
tdmccurry@yahoo.com
843-338-2253


Wednesday, October 5, 2016

ENGINE STARTUP


Now that the engine related wiring has been connected and the fuel delivery and cooling systems checked for leaks, we are almost ready to begin the startup procedure.  


We filled the crankcase with a good grade of motor oil containing a zinc additive and preset the carburetors and ignition timing.  Now it's time to push the button.  
It took a few minutes to adjust the timing and carburetors after the engine started but now it runs smoothly.


Now to assemble the front end...
Tom McCurry
Tommy's Topless Cars
843-338-2253