As we discussed in the last post, it will be necessary to remove the rear fenders so that the latch panel behind the door can be fitted properly. Both the driver's side and passengers side have issues.
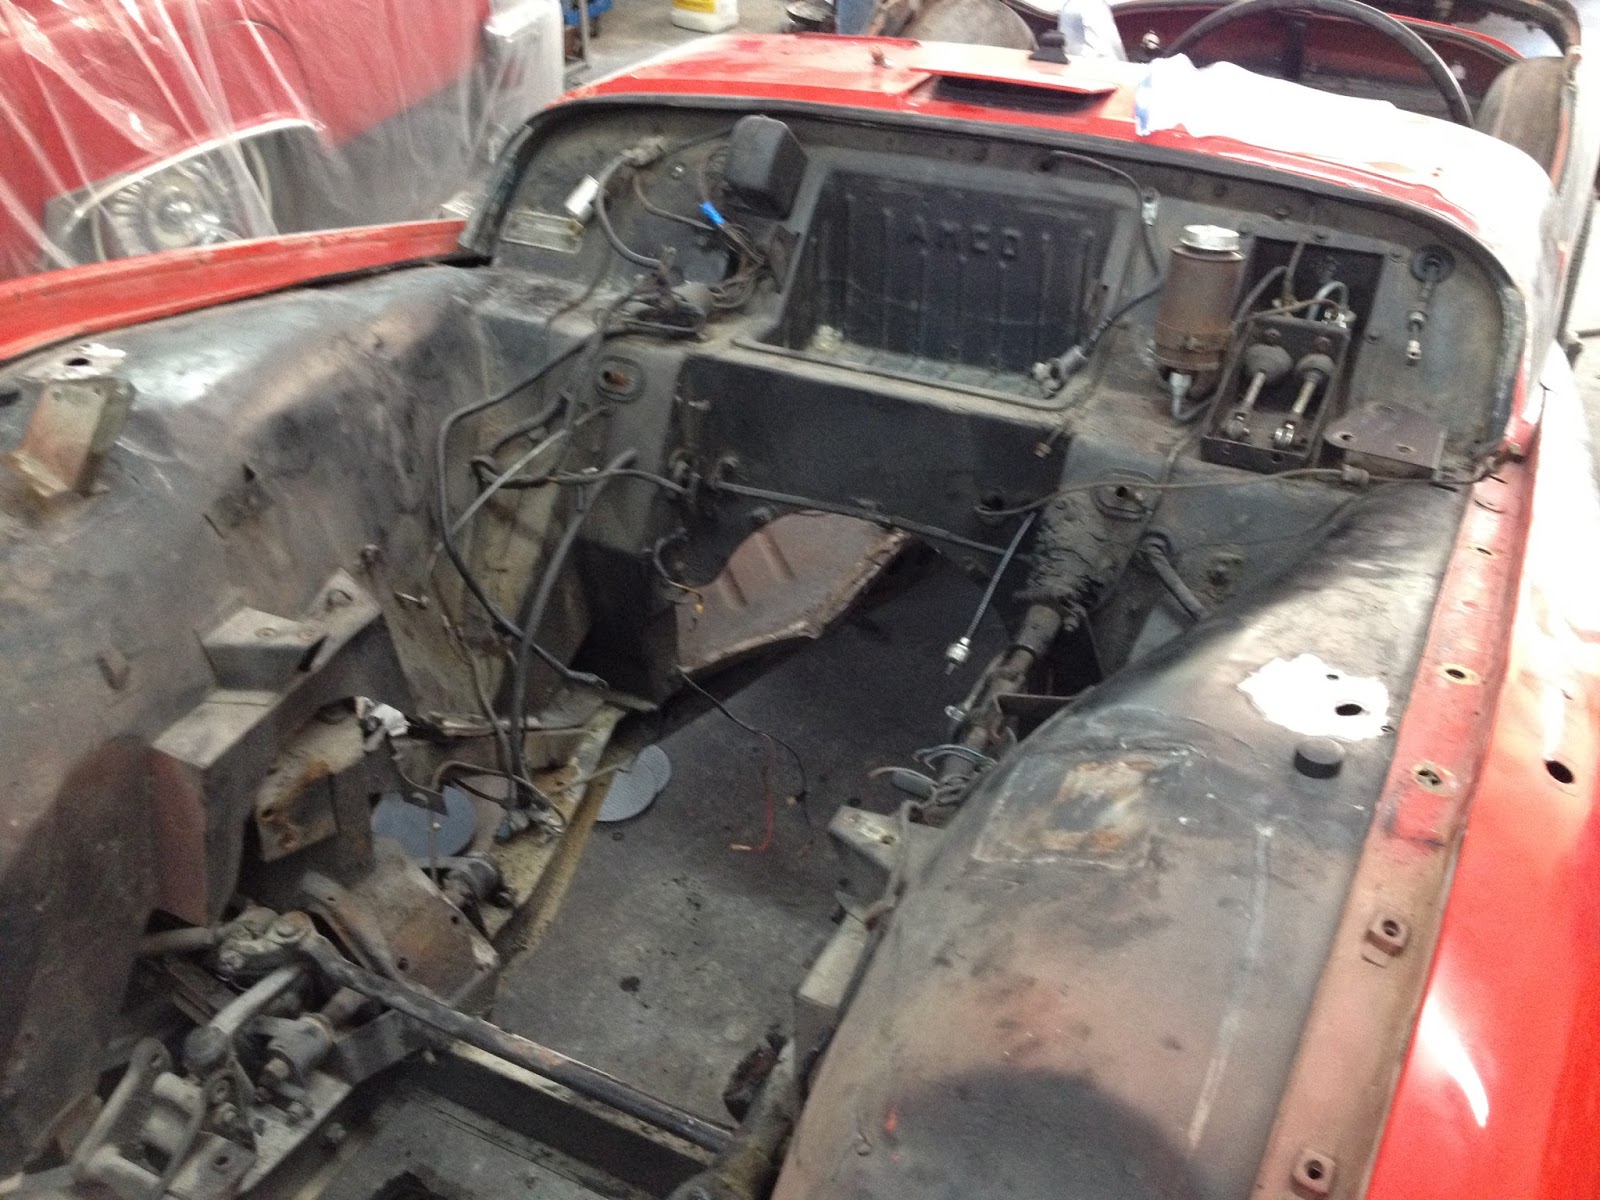
Before the fender is removed, we took time to locate the fasteners and braces. In the photo to the right you will notice a lateral brace extending from the frame to the bottom of the fender just behind the tire. This brace was removed first.
Following the removal of the taillight assembly, the bolts securing the fender to the body tub are removed. They are located just below the stainless steel bead inside the wheel well and adjacent to the boot lid seal. We left two of the fasteners loose and in place just to stabilize the fender until it is completely detached.
The rear fender did extended over the taillight mounting surface and appeared to be secured with seam sealer. This was loosened with a few taps of a body hammer and a sharp chisel.

The fender and bead was then removed easily. The process will be repeated on the passenger's side.
Special note...
For those of you that are interested in following this restoration frequently, we offer an email alert. The button is located on the top right of each post. Just fill in your email address and confirm by opening the confirmation email. Then, each time I post, you will be notified by email.
Tom McCurry
Tommy's Topless Cars
843-338-2253
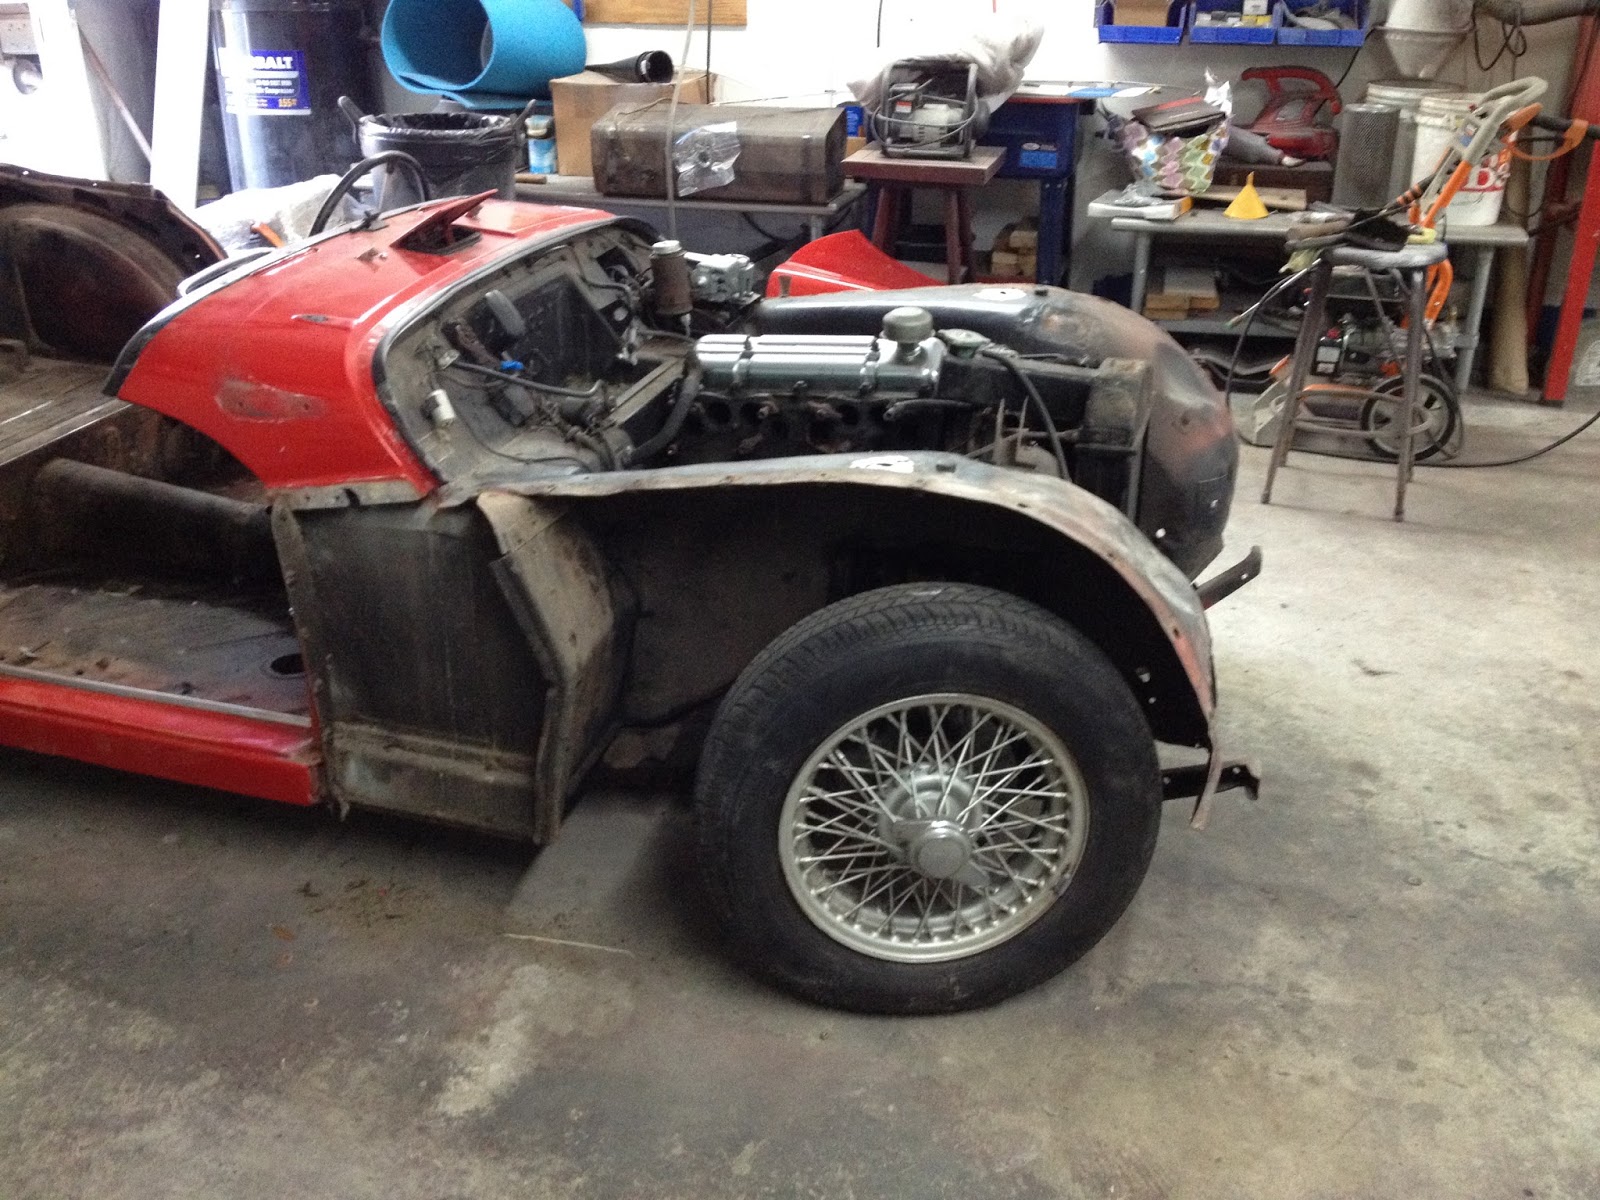
 The engine and gearbox removal began early this morning.