dedication

THIS BLOG IS DEDICATED TO THE PREVSERVATION AND RESTORATION OF BRITISH AUTOMOBILES

Friday, November 25, 2016

INTERIOR WORK CONTINUES...INSTALLING THE SEATS

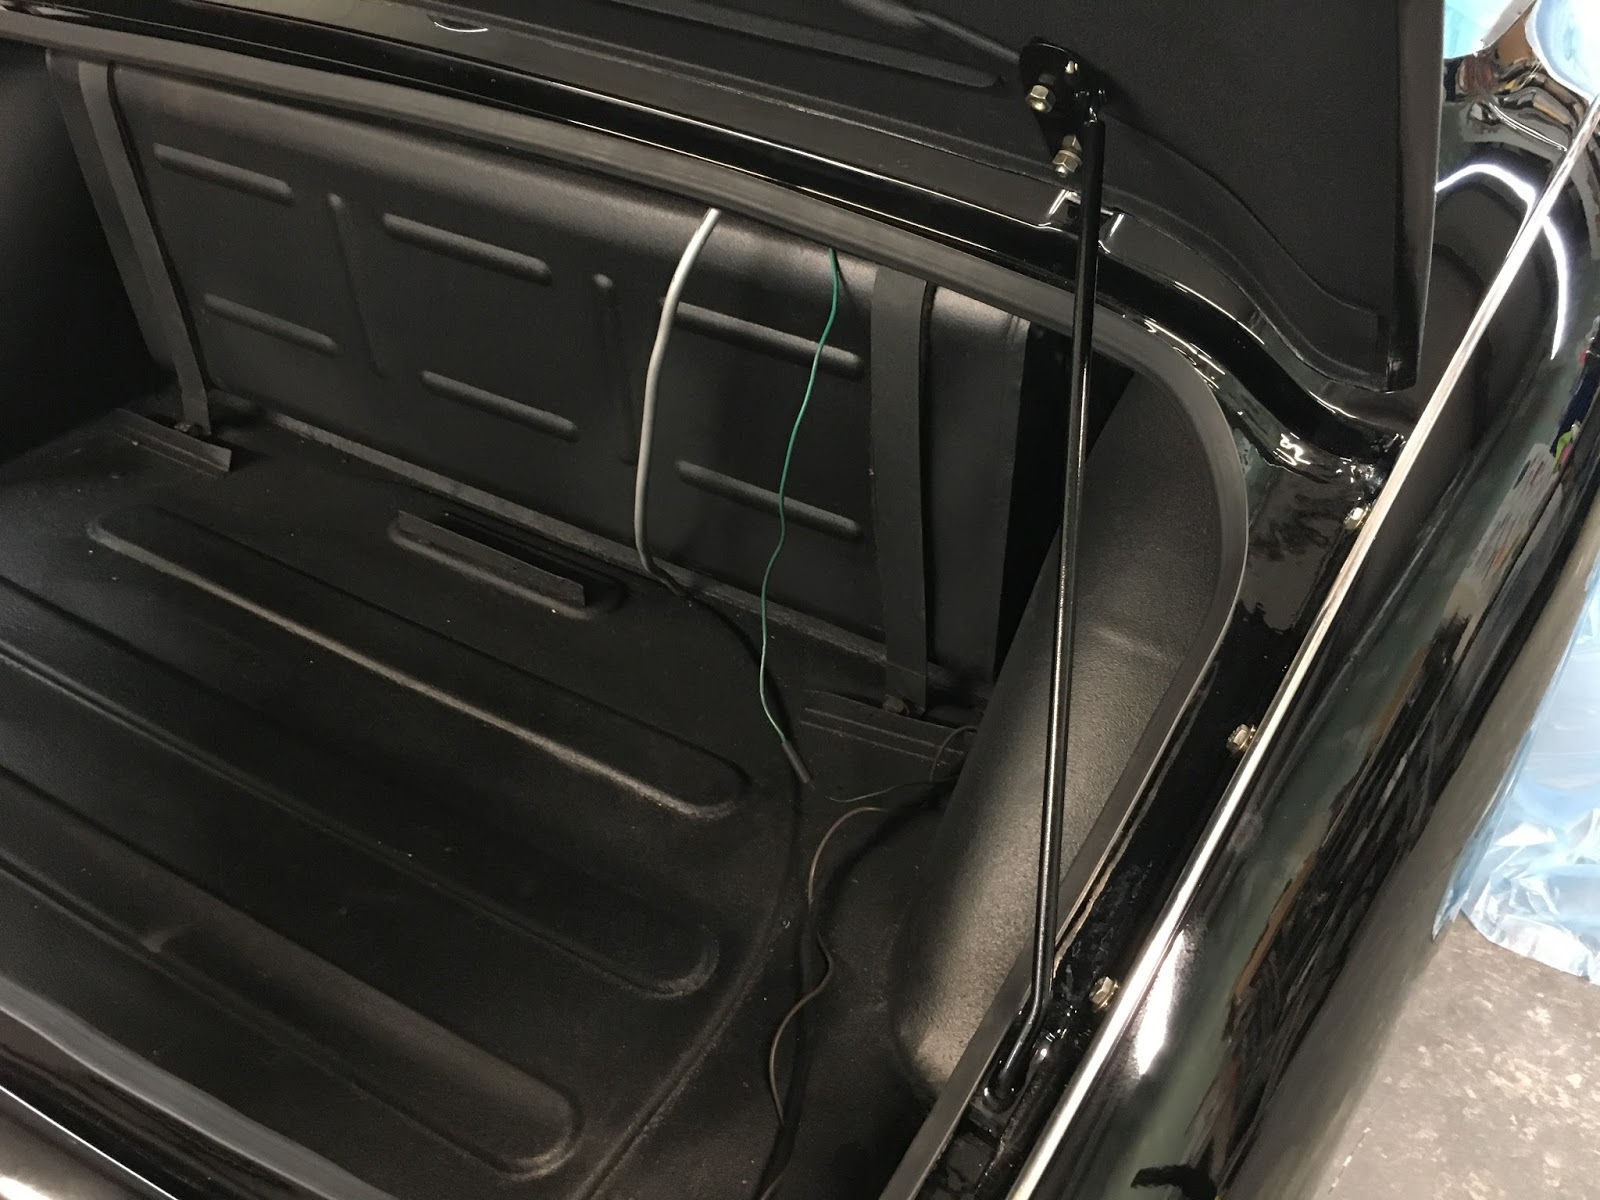
Jeremy and I spent the day permanently attaching the carpets and upholstered panels to the body of the TR.  Installing the carpeting was a bit time-consuming because we attached most of the pieces with snaps.


We chose black carpets in order to accentuate the upholstery piping.


The seats had been covered with new leather several months ago.  We set them in position today for this photo shoot.  They will be bolted to the floor later this week.


Stay tuned...
Tom McCurry
Tommy's Topless Cars
843-338-2253


Wednesday, November 23, 2016

INTERIOR WORK CONTINUES...SECURING THE COCKPIT MOLDINGS

After covering the cockpit rails on the dash, doors and side panels, only three pieces at the rear remain.  These pieces have had some rough treatment over the years.  Several hours of straightening were required prior to covering them.


The fuel tank cover was fitted and secured at the top and bottom.  Additional padding was also fitted to the top portion of the cover.


Finally the remaining moldings are  fitted to the body.  They will be permanently attached tomorrow.


Stay tuned...
Tom McCurry
Tommy's Topless Cars
843-338-2253


Tuesday, November 22, 2016

INTERIOR WORK CONTINUES...FITTING THE CARPETS

This carpet kit was purchased from Moss Motors and, I must say, it fit very well.  
Shown in the photo to the left is the application of 1/4" foam rubber to the stationary cover for the propeller shaft.  We use foam under the carpeting on rounded surfaces to make it fit better and to reduce drive train noise.


The carpeting for the kick panel was a good fit requiring very little trim work.  


We applied 1/2" felt padding to the underside of the carpeting for the rear deck and the floors.


Snaps have been applied to the floor, tunnel and rear deck carpets to hold them in position.  


Ready for seats...
Tom McCurry
Tommy's Topless Cars
843-338-2253


Monday, November 21, 2016

FITTING THE GLOVE BOX DOOR

This process has been a journey.  The vinyl material intended to cover the door was mismatched to the material on the dashboard. It required some time to correct the issue.  But now, all is well and glove box door fits perfectly.


All is well in TR3 land...for the moment...
Tom McCurry
Tommy's Topless Cars
843-338-2253


Saturday, November 19, 2016

FITTING THE BONNET

With the latch receivers in place, and the hinges secured, we are prepared to fit the bonnet to the body.  It will be necessary to adjust the height of the receiver by inserting shims between the inner fender and the receiver.  This is a trial and error process.


Next, the bonnet lift assembly is attached to the front apron.  There was some alteration required to allow the bonnet to close completely.  The spring and the push rod were both shortened.


In the photo to the right, you will notice the installation of the prop rod.


Now the bonnet is in place and its fasteners are aligned.  When the bonnet is locked in place, the margins are within tolerance.


The TR looks like a car again... I can't wait to show you the chrome wheels.


Stay tuned...
Tom McCurry
Tommy's Topless Cars
843-338-2253


Wednesday, November 16, 2016

INTERIOR WORK CONTINUES

Now that the wood panel covering the fuel tank has been fabricated, we are ready to fit the wheel well covers and fuel tank upholstery.
First we applied a layer of 1/4" thick foam to the wheel wells.


Next, the well covers are attached to the foam.


Finally, the side panels and tank cover is positioned.  Tomorrow these panels will be permanently attached to the body.
The next step will be fitting the carpeting.


Later...
Tom McCurry
Tommy's Topless Cars
843-338-2253

Monday, November 14, 2016

INTERIOR WORK CONTINUES

The fuel tank upholstery panel had been broken and repaired so many times that we found it necessary to fabricate another one. 


There is still a bit more trimming to do on the wood panel before we attach the upholstery material, but we are almost there.


Tomorrow...
Tom McCurry
Tommy's Topless Cars
843-338-2253


Sunday, November 13, 2016

FITTING THE DOOR PANELS...CONTINUED

 Fitting the second door panel didn't require as much time.  Instead of aligning and attaching the panel repeatedly,  I merely took measurements locating the side-curtain brackets from the driver's door.
The door panels and top rails were a bit difficult to fit...but worth the effort.


Stay tuned...
Tom McCurry
Tommy's Topless Cars
843-338-2253


Friday, November 11, 2016

FITTING THE UPHOLSTERED PANEL IN THE TRUNK

There is only one upholstered panel in the trunk and it covers the fuel tank and vent line.


The original panel was not in good condition.  We made a new plywood panel and covered it with black vinyl.  


Tom McCurry
Tommy's Topless Cars
843-338-2253

Thursday, November 10, 2016

FITTING THE DOOR PANELS

After aligning the doors to their proper position, we can focus our attention on the door panels.
First, we must attach the "lift-the-dot" fasteners for the side curtains and tonneau cover.


Then, the door panels are fastened into place with the stainless steel trim screws.  You will also notice the installation of the upholstered rail on top of the door.


Finally, the receivers for the side curtains are secured to the doors.
All in all, this is not an easy process.  There were several issues with fit and alignment.  We spent 11 man hours fitting this door panel alone.  Hopefully, the panel on the passengers door will be easier to fit.  It helps to be a patient person...


Stay tuned...
Tom McCurry
Tommy's Topless Cars
843-338-2253


Sunday, November 6, 2016

FITTING THE HOOD FASTENERS

One of the major issues with the bonnet was that a previous owner had replaced the original hood fasteners with aftermarket hood pins.  In doing so, they created a great deal of work for us.


First we had to stitch weld a patch to cover the hole.  Then another patch panel was welded to the underside of the hood to further strengthen the area.


After the bodywork was completed and the hood properly fitted to the body,  we were ready to locate the new fasteners.


 Next we located the fastener receivers on the inner fenders and marked the location on the bottom of the hood.  


We then drilled the hole for the fastener and crimped the eyelet into place.  The bodywork was then completed and the final primer was applied and blocked.


We are almost there...
Tom McCurry
Tommy's Topless Cars
843-338-2253


Saturday, November 5, 2016

INSULATING THE FLOORS

As you recall from a  previous post, we applied several coats of rubberized undercoating to the floors.


Today we applied the sound/heat insulation to the floor pans.  This product makes the interior temperature much more bearable during the summer months.


Almost ready for the road...
Tom McCurry
Tommy's Topless Cars
843-338-2253

Friday, November 4, 2016

MOUNTING THE DOORS

 Before we applied the final paint, the doors were fitted just to make sure that no further alterations would be required.


We purchased new exterior door handles and restored the latch assemblies.


The door checks were also restored and polished.  Also the connecting pins were replaced.


Stay tuned...
Tom McCurry
Tommy's Topless Cars
843-338-2253

Wednesday, November 2, 2016

FITTING THE TRUNK LID

We fitted the trunk lid seal yesterday.  After restoring all the painted parts of the lock, the cross brace and the prop rod, we are ready to assemble the trunk lid.


The prop rod assembly is pictured to the left.


We purchased new hinges for the trunk lid and cleaned and polished the lock...black and chrome.
The lock latched perfectly; without adjustment and the margins between the trunk lid and adjacent body panels are certainly within tolerance.


Stunning...
Tom McCurry
Tommy's Topless Cars
843-338-2253

Tuesday, November 1, 2016

FITTING THE GRILLE, BUMPER AND LIGHTING

Now that we have aligned the front apron and fenders and the badges have been installed, we can fit grille, bumper and head and signal lighting.


Before we applied the final paint, we test fitted the grille and bumper.  
The final assembly was easily accomplished.


Stay tuned...
Tom McCurry
Tommy's Topless Cars
843-338-2253